
Ever been stuck with a stubborn blank page in Word that just won’t go away? It’s frustrating, right? I’ve been there too—frantically clicking, trying to delete it before a deadline. But don’t worry, you’re not alone, and this isn’t some mysterious glitch. In just a few simple steps, you can get rid of that extra page and get back to perfecting your document. Stick with me, and I’ll show you exactly how to do it—whether you’re on a MacBook Air, MacBook Pro, or any other macOS device.
Common Reasons for Extra Pages in Word
Before we dive into the solutions, it’s helpful to understand why these extra pages appear in the first place. They’re usually caused by:
- Extra paragraph markers at the end of a document.
- Page breaks inserted unintentionally.
- Hidden formatting symbols that aren’t visible in regular view.
- Section breaks, often used to divide different sections of a document.
No matter the cause, there’s always a way to remove these extra pages, so let’s get started.
How to Delete a Page in Word on a Mac
Depending on what’s causing the extra page, there are different methods to fix the issue. Let’s go through each of them step-by-step.
Method 1: Deleting an Empty Page
If the extra page is blank, this is the quickest way to remove it:
- Step 1: Open your Word document.
- Step 2: Navigate to the blank page at the end.
- Step 3: Press
Command+8to reveal non-printing characters like paragraph marks (¶). - Step 4: Select and delete any extra paragraph marks by pressing
DeleteorBackspace.
That’s it! The extra page should disappear.
Method 2: Deleting a Page Using the Navigation Pane
This is especially useful if your document is long, and you want to quickly find and delete pages.
- Step 1: Click the
Viewtab and check theNavigation Panebox. - Step 2: The Navigation Pane will appear on the left, showing all your document pages.
- Step 3: Scroll to the page you want to delete.
- Step 4: Select the page and press
Delete.
I’ve used this trick when editing long reports, and it’s a real time-saver!
Method 3: Deleting a Page with Content
Sometimes, the extra page isn’t blank but filled with content you no longer need. Here’s what to do:
- Step 1: Highlight all the text or images on the page.
- Step 2: Press
DeleteorBackspace. - Step 3: If there’s still an extra page, show non-printing characters using
Command+8and delete any extra paragraph marks or page breaks.
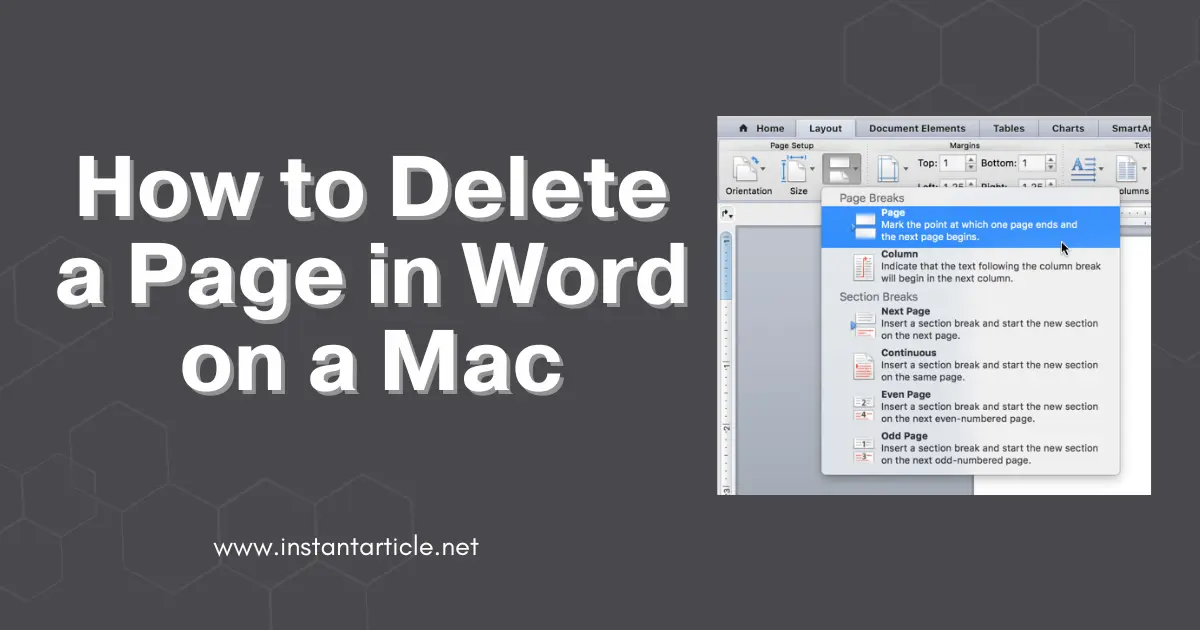
Method 4: Removing a Page Break
Page breaks can sometimes sneak into a document and create an extra page. Here’s how to remove them:
- Step 1: Press
Command+8to show hidden formatting symbols. - Step 2: Find the “Page Break” and select it.
- Step 3: Press
Delete.
I once had an extra page in the middle of a report because of an accidental page break, and this method worked perfectly.
Method 5: Deleting a Section Break
Section breaks, particularly those at the end of a document, can cause extra pages to appear:
- Step 1: Press
Command+8to show hidden formatting symbols. - Step 2: Scroll to the section break.
- Step 3: Select the section break and press
Delete.
Once removed, the extra page will disappear.
Method 6: Adjusting Margins and Content to Remove Pages
If your extra page is caused by large content like tables or images, adjusting the margins can help:
- Step 1: Go to the
Layouttab. - Step 2: Adjust the margins by selecting a narrower option.
- Step 3: Resize any large objects in the document, such as tables or images.
This trick has saved me when I had oversized tables that caused unwanted extra pages.
Specific Tips for MacBook Air and MacBook Pro Users
Whether you’re using a MacBook Air or a MacBook Pro, these steps will work the same. I’ve used both devices, and Microsoft Word operates the same across all macOS platforms. So no matter what model you’re on, you’re good to go.
Tips to Prevent Extra Pages in Word on a Mac
Here are some quick tips that can help you avoid extra pages in the future:
- Check for hidden characters regularly: Press
Command+8to show non-printing characters while you’re editing. It’s easier to spot and remove unwanted formatting early. - Use Page Breaks Sparingly: Only add page breaks when absolutely necessary to avoid accidental extras.
- Keep an eye on margins: Large tables or images can extend into an extra page, so watch your layout and margins as you build your document.
Frequently Asked Questions (FAQs)
A common cause is extra paragraph marks or section breaks at the end of the document. Press Command + 8 to reveal them, then delete them to remove the blank page.
Highlight the content on the page you want to delete and press Delete. If it’s a blank page, check for extra paragraph marks or page breaks and remove them.
The core functionality is the same, but some keyboard shortcuts are different. For example, on a Mac, you’ll use Command instead of Control.
Yes, you can select the content from multiple pages and press Delete. For blank pages, you can remove extra formatting symbols like paragraph marks or page breaks.
By following these easy steps, you can quickly delete unwanted pages in Word on your Mac. Whether you’re using a MacBook Air, a MacBook Pro, or any other macOS device, these methods will help you keep your document clean and organized. I hope these tips help save you the time and frustration that I experienced when I first encountered this problem!